Key Takeaways
- Gather tools, check compatibility, and download the HomeaApp prior to installation.
- Turn off electricity prior to installation for safety.
- From start to finish, it can take just 20 minutes to install.
Google says the Nest Thermostat can take as little as 20 minutes to install. In our experience, jumping into the installation blindly can make the process take longer. Here, we walk you through setup step-by-step to eliminate confusion and clear potential hurdles.
Preparation before installation
Before you dive in, there are a few important steps to prepare in advance. For one, you’ll have to get a couple of tools together and sign into the Home App. You can then check to make sure your system is compatible with the Nest Thermostat. As per Google’s instructions, “If your existing thermostat is labeled 120 V or 240 V, has stranded wires, or has thick wires with wire nuts, your system is high voltage and not compatible.”
Follow these steps in order to avoid any obstacles:
- Prep your toolkit with a Phillips-head and a Flathead screwdriver.
- A power drill, pliers, and wire strippers, can help as well.
- Check the wires and labels on your existing thermostat to make sure your system is compatible.
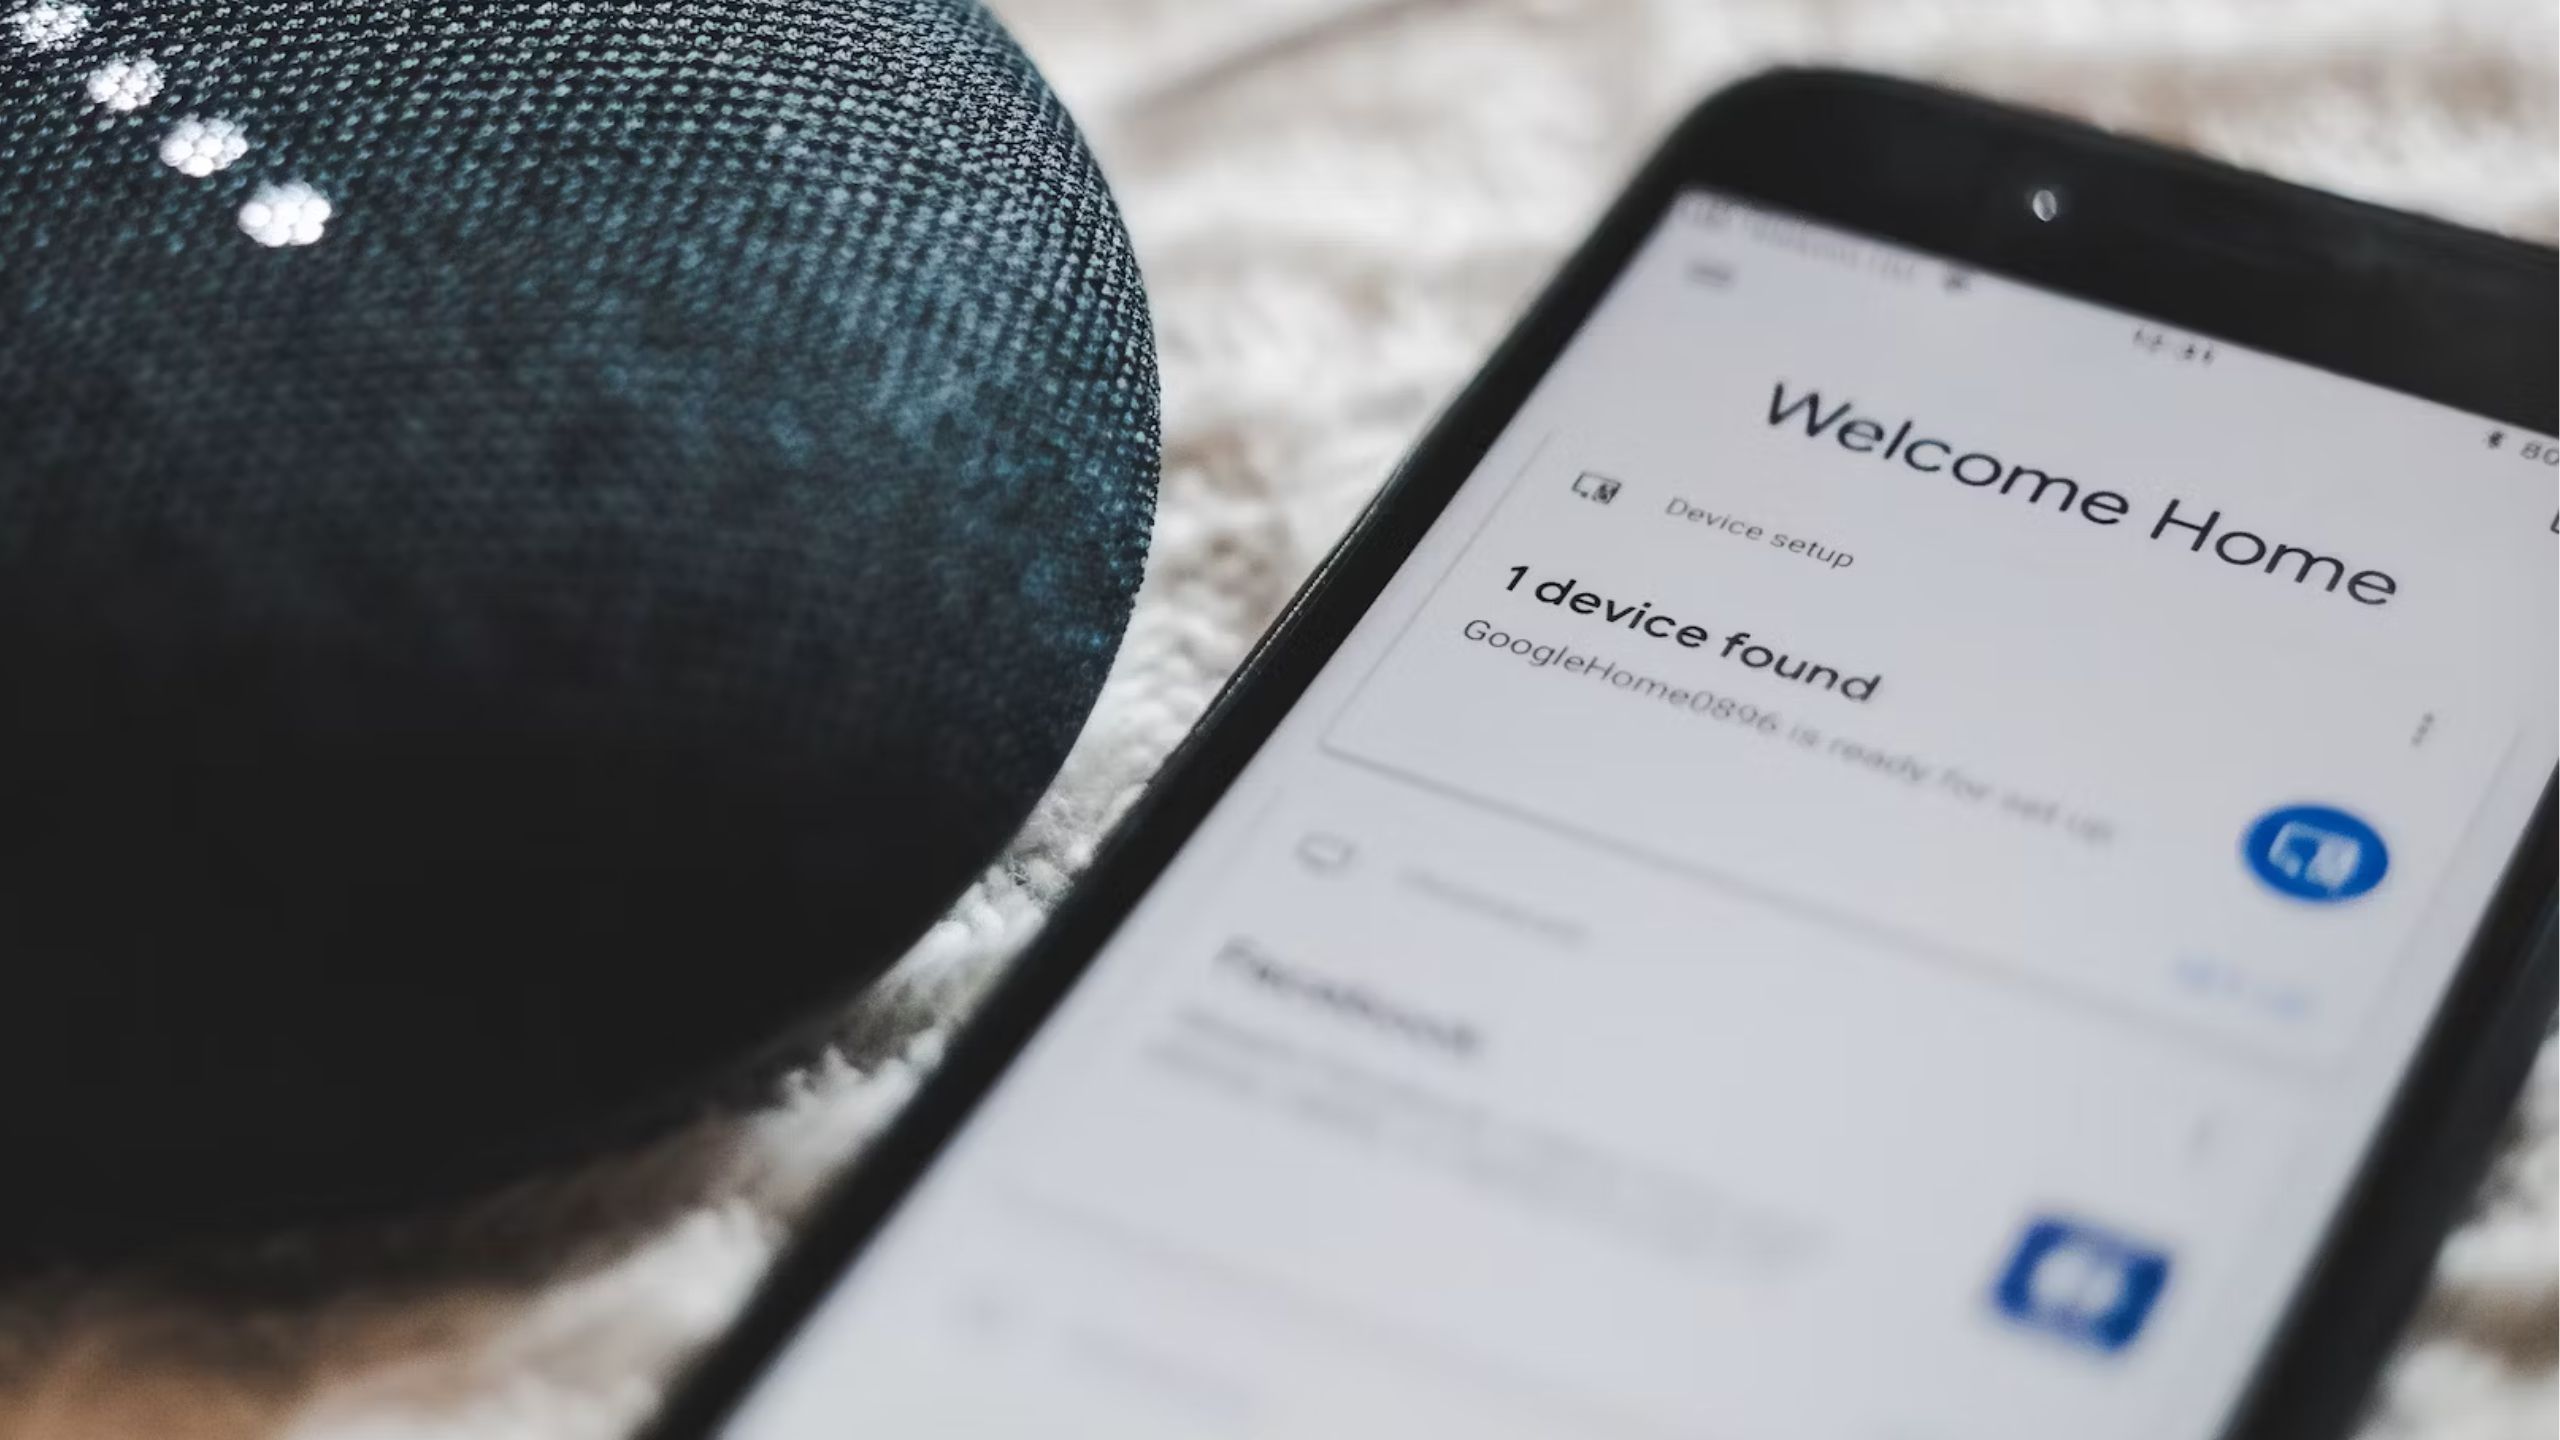
- Download the Home App and sign in with your Google Account.
- In the Home App, select “Add,” “Set up new device,” and “New devices.”
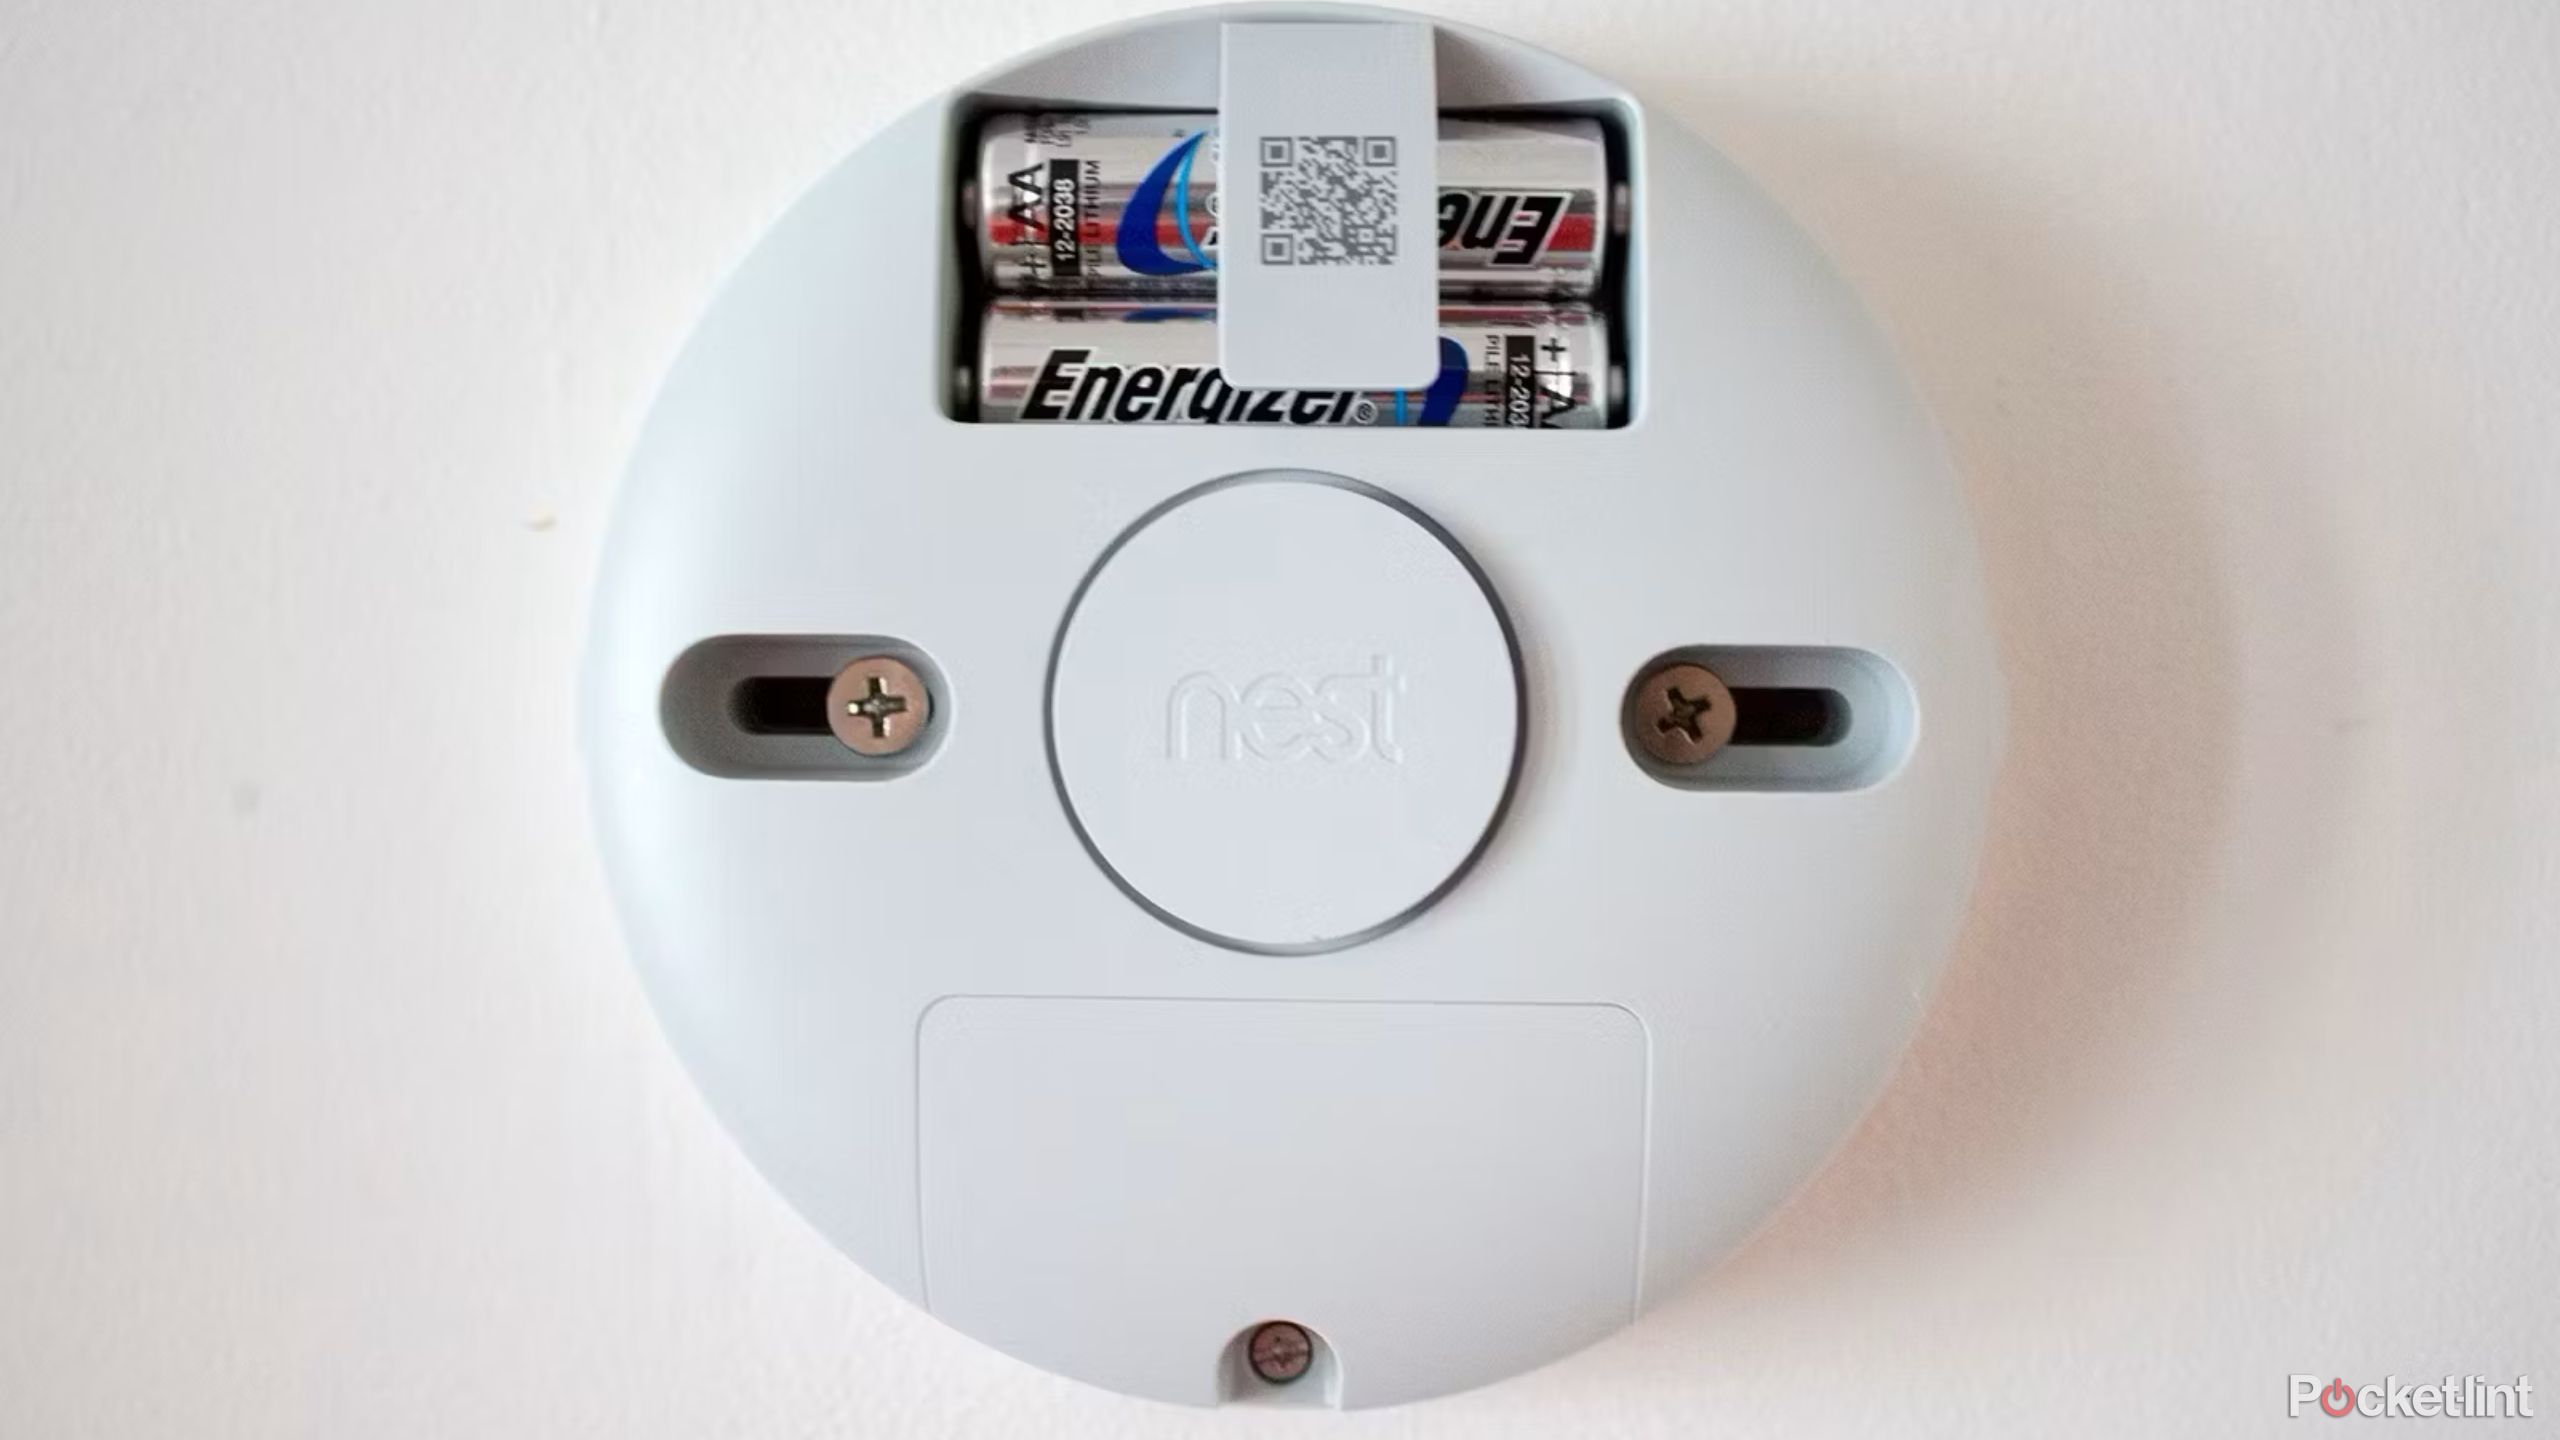
- Follow the prompt to scan the QR code printed on the back of the Nest Thermostat.
- Home App will initiate its step-by-step walk through for installation and syncing.
If the scan doesn’t work, select “Continue without scanning” and choose your thermostat model from the list. You’ll have to type in the number-and-letter code located directly below the QR image. The thermostat won’t turn on yet, but your Home App will be ready to walk you through the setup. You can also follow their video guide.

Google Nest Thermostat tips and tricks: Get the most out of your learning thermostat
Here are all our tips and tricks to help you use your Nest Learning Thermostat and get the most out of it.
Remove your old thermostat, using safety as your guide
Now that your tools are prepped, your system is confirmed as compatible, and your app is ready, you can move on to the physical installation.
- Turn off the electricity by switching off the power breaker. This will cut power to your whole house, so you can work with wiring safely.
- Detach the old thermostat from the wall using your screwdriver, and inspect the wires. Take a photo of the wiring in case you need to reference it later on.
- The Home app’s walk through will indicate which wires are which. If your old thermostat has jumper wires, the app will prompt you to remove them.
- Label the wires using the set of labels included with your Nest Thermostat. The Home App should clear up any confusion.
- Disconnect the old thermostat from the wires by carefully unplugging them.
As is always the case with electrical wires, safety is the number one priority.

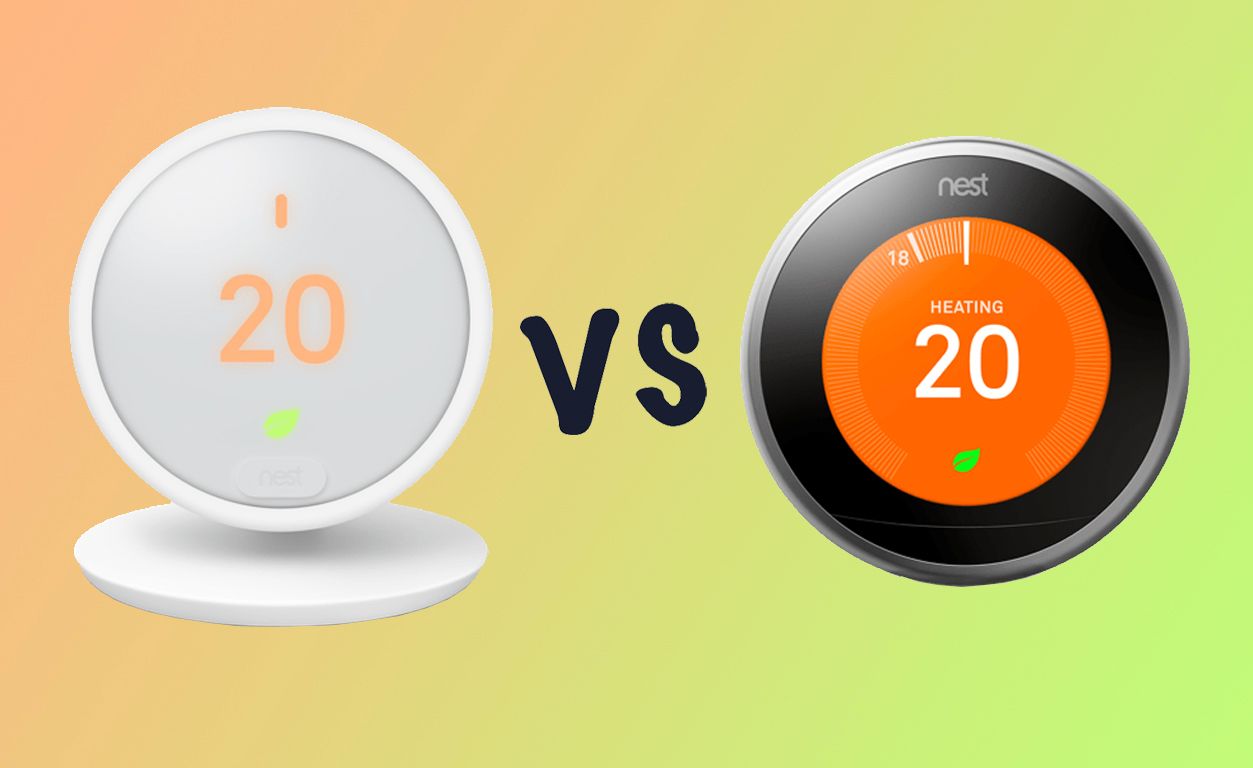
Nest Thermostat E vs Thermostat 3.0: Cheaper, but at what cost?
A comparison of how the reengineered UK and European model of the Nest Thermostat E compares to the company’s more expensive Thermostat 3.0.
Install your new Nest Thermostat on the wall
Out with the old, in with the new. With your previous thermostat now removed, you can mount your Nest Thermostat on the wall. Its baseplate will go on first, so remove the old baseplate if it blocks the new one.
- Screw the included baseplate into the wall, with the wires pulled through the middle hole.
- Plug in the wires to their corresponding slots on the Nest Thermostat by pressing down the button on the connection port and pushing the end of the corresponding wire into the slot. It should fit neatly and securely, while the button will stay depressed.
- Remove the plastic tab poking out of the battery bay. If there’s already a battery in place, your Nest will turn on.
- You can now attach your Nest Thermostat to the base. (Don’t try to force it, it should click in gently).
Configure your smart thermostat
The physical setup is done, and the digital setup now begins. The Home app will walk you through the steps. You’ll need to remember to take care of a couple of real-world responsibilities as well, such as switching your power breaker back on.
- Go back to your power breaker and switch the electricity back on. Your Nest will light up and get ready for setup.
- Within the Home app, follow the various configuration prompts.
- Perform the power test to ensure your Nest is running properly.
- Connect your Nest Thermostat to your Wi-Fi. The Home App will allow you to select your preferred network and save the password.
Unsplash
Customize your smart thermostat
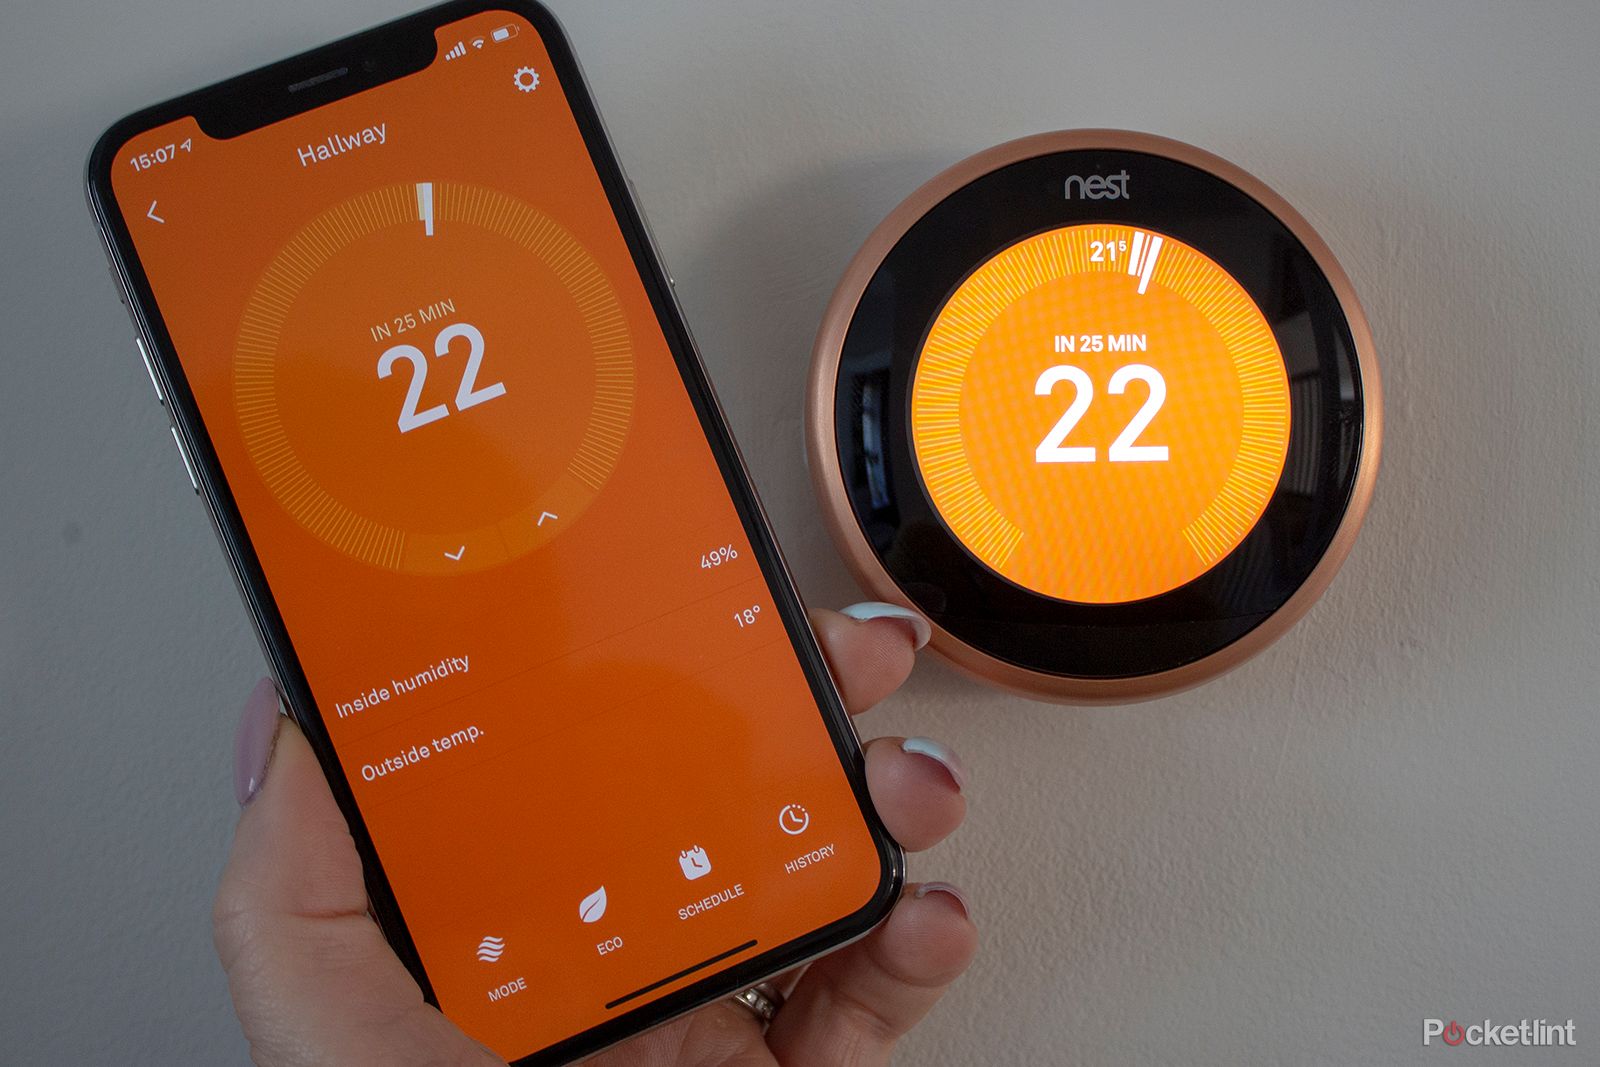
Put those tools away and relax. From here, you can customize your Google Nest Thermostat with schedules, modes, alerts, and reminders. There are a lot of different settings to explore, and they’re all accessible in the Home app. Take some time to familiarize yourself with them, since cozy comfort starts with the temperature.
Trending Products


